Page Background

Pages

Showing posts with label Party ideas. Show all posts

Friday, March 30, 2012

Carrot Treat Holder


Step 1: make a cone out of orange paper.
Step 2: glue green tissue paper onto edge of cone.
Step 3: Fill with favorite treat.
Step 4: Close with ribbon.

These are easy and great to give anyone a little treat in.

For template visit www.peppermintcreative.com

Thursday, March 29, 2012

Bunny Bait


It calls for just a few simple ingredients, and it literally is the fastest thing ever to make. I love peanut butter and pretzels together, so I used:
  • a bag of Reese's Pieces eggs
  • pretzels
  • marshmallows
  • honey roasted peanuts
You could also add raisins, but I don't like them, so I didn't. :) I didn't measure anything--just added as much or as little of each ingredient as I wanted. That's the beauty of it--there is no right way to do this, and you can make it to your own liking.


Leave some out for the Easter Bunny...he'll love it too!

For more fun ideas go to brown paper packages.

Wednesday, February 8, 2012

Cupid Cupcake


Cupid Cupcakes are darling. Bakerella.com had this idea and thought how easy and quick gift to make for your neighbors or friends on Valentine's Day.

Try them out and see how easy they really are.

Tuesday, January 17, 2012

Paper Cupcake Stand


Here is the other template that you can go and printout to make for a great tea party of gift. They are on display at the store with the other Valentine ideas.


There are great ideas at this site. I hope you have fun making it like I did when I first saw them. (picture if from birdsparty also.)

Monday, January 9, 2012

Paper Heart Garland

Get ahead now for Valentine's. Make paper heart garland that is so easy. You could adorn any place and make it festive for the holiday.

Cut your paper about an 1 1/2 wide strips and away you go. Have fun.

Thursday, December 1, 2011

Christmas Crackers

Make your own Christmas Crackers


christmas crackers Make your own Christmas Crackers

I love these they are a great tradition to do at dinner time. The kids love them also. Have fun.

Here’s what you’ll need:

  • Lightweight wrapping paper, crepe paper or tissue paper
  • Toilet paper rolls (2 per cracker, or one paper towel roll)
  • Cracker Snaps (you can buy them at craft stores like Michael’s or online here or here)
  • scotch tape
  • Glue
  • Scissors
  • Ribbon
  • Candy, toys, trinkets etc. to till it with

Here’s how to make em:

christmas crackers f01 Make your own Christmas Crackers
Step 1: Layout your paper, placing one toilet paper roll in the middle. Cut the second roll in half and place one at each edge, leaving about 2 inches between the one in the middle. Use tape to attach the cracker snap lengthwise in the middle of the paper. Tape both ends, but not the middle. (you can also attach the cracker snap in the middle of the rolls, taping the ends to each of the cut rolls)

christmas crackers f02 Make your own Christmas Crackers
Step 2: Start rolling the paper around the toilet paper rolls, glue it down as you go, to help keep it’s shape.

christmas crackers f03 Make your own Christmas Crackers
Step 3: When you’ve rolled it all the way up, make sure the edge is sealed.

christmas crackers f04 Make your own Christmas Crackers
Step 4: Pinch and twist in the paper in the gap between the middle toilet roll and one of the ends. Secure with a ribbon.

christmas crackers f05 Make your own Christmas Crackers
Step 5: Fill the open end with candy, toys and trinkets

christmas crackers f06 Make your own Christmas Crackers
Step 6: Secure the other end by pinching and twisting like before. Then tie with a ribbon.

And you’re done! If you want you can add additional decorations to the outside, or add the names of your guests and use as place markers at your table.

More ideas on www.talkcraftytome.com

Thursday, August 11, 2011

Studio 5 Back to School

Are you all ready for Back to School. Some would say they are and some not. I am not quite sure because my daughter will just start kindergarten. I'm a little nervous about it.

Here are some great ideas for you to do for those back to school days.
These ideas were inspired all by the apple centerpiece that I saw on Shindig parties to go. I love that blog. They have been changed so that they are now my own design.
This is a simple scrapbook that was one piece of patterned paper from Adornit. I cut card-stock 6 x 6 and then cut the patterned paper into squares and placed them on corners. Each page will fit a school photo for each year.
Note Cards: who doesn't need note cards especially a cute gift for your new teacher.

Placemat will be perfect for every morning to help entice the kids to get all things done they need to before they leave for school. Dry erase so you can keep using it and using again.

Marshmallow apples: I took a large marshmallow and placed it on a skewer and dip it in chocolate. Then placed a piece of pretzel and airhead leaf on top.

This is also a great gift for those teachers every once in awhile they need a little boost.

Instructions for the Pencil Vase Centerpiece

Step 1: Gather your supplies: - Canned food with a pop top (or a can cut with a safety edge can opener) - Florist foam or styrofoam - 2 boxes of pencils - Scissors and hot glue

- Strip of paper that you like

- Apple sticker for center of medalion

Step 2:

- Empty out the contents of your canned food and save for another use. Wash and dry out the can and place a small piece of florist foam inside.

Step 3:

- Using a hot glue gun, place glue in a vertical line from the bottom to the top of your can and press one pencil into the glue, holding until the glue dries. Be sure not to skimp on the glue - you'll want your pencils to stay put.

Step 4:

- Repeat step 3 over and over again with more pencils until you've completely covered the can.

Step 5:

- Cut a strip of your printed green paper into a "ribbon" to wrap around the pencils on your can. Fit it around the center of the pencils and hot glue in place.

Step 6:

- Make circle on white card-stock and place apple sticker on it. Then mat is with green and black card-stock then clip edges and separate from each other back and forth.

CHOCOLATE COVERED OREO APPLE POPS

What you'll need:

- Wilton Shaped Party cellophane bags (I bought mine at Walmart)

- Red candy melts

- Wooden skewers

- Double Stuff Oreos

- Green Air Heads candy

- Stick pretzels

- Sharp Knife

- Shredded red tissue paper

- Pencil vase or another simple vase to hold your apple pops

Step 1: Melt your chocolate in a double boiler following the instructions on the candy melts bag. Freeze Oreo cookies in freezer for an hour. Then place skewer in Oreo and dip in chocolate.

Step 2: Place a small piece of pretzel stick with a little melted chocolate on it as well. This will help the pretzel stay in place.

Step 3: Then with the green airhead shape a leaf and dip in a little chocolate and stick it by the pretzel.

Step 4: Cover with sucker bag twist on tie. Then stick in floral foam in vase.

Step 5: Place your shredded tissue paper in-between the apple pops.


Cute little gift that was a mini Oreo dipped in chocolate and then placed a piece of pretzel and airhead leaf on top. Then placed a cute little tag on top.

These are the same little apples I made up above. I placed them in a snack bag and placed a topper on top as a cute thank you.

I hope you enjoyed all of these things as much as I did. You can also get your supplies at the Book Table and little kits will be available for some of them.

They'll go quick come in soon.

Monday, July 25, 2011

Cute Cupcake Tutorial

I saw this on Cosmo Crickets blog and thought it was darling.
Here is there tutorial on the cupcakes.

Tuesday, June 21, 2011

4th of July Center Piece

4th of July Center Piece
by Fances Sylvia @ Bobunny

Could there be any cuter way to dress your table for the 4th? Frances has pulled out all the stops for this terrific project!

user posted image
user posted image

user posted image

user posted image

Supplies Used:
Liberty 6 X6 Paper Pad, Liberty Dot,Liberty One Nation, Liberty Freedom, Liberty Stripe, Liberty Fireworks, Liberty Brads, Liberty Jewels, Liberty Freedom & Fireworks Cardstock Stickers, Liberty Combo Stickers, Liberty 12" Chipboard, Liberty Dimensional Stickers, Liberty Noteworthy, Bo Bunny Double Dot Ribbon, and Bo Bunny Chunky Chips Chipboard Alphabet.

Come get all your supplies at the Book Table and be ready for your Fourth of July Bash.

Thursday, April 14, 2011

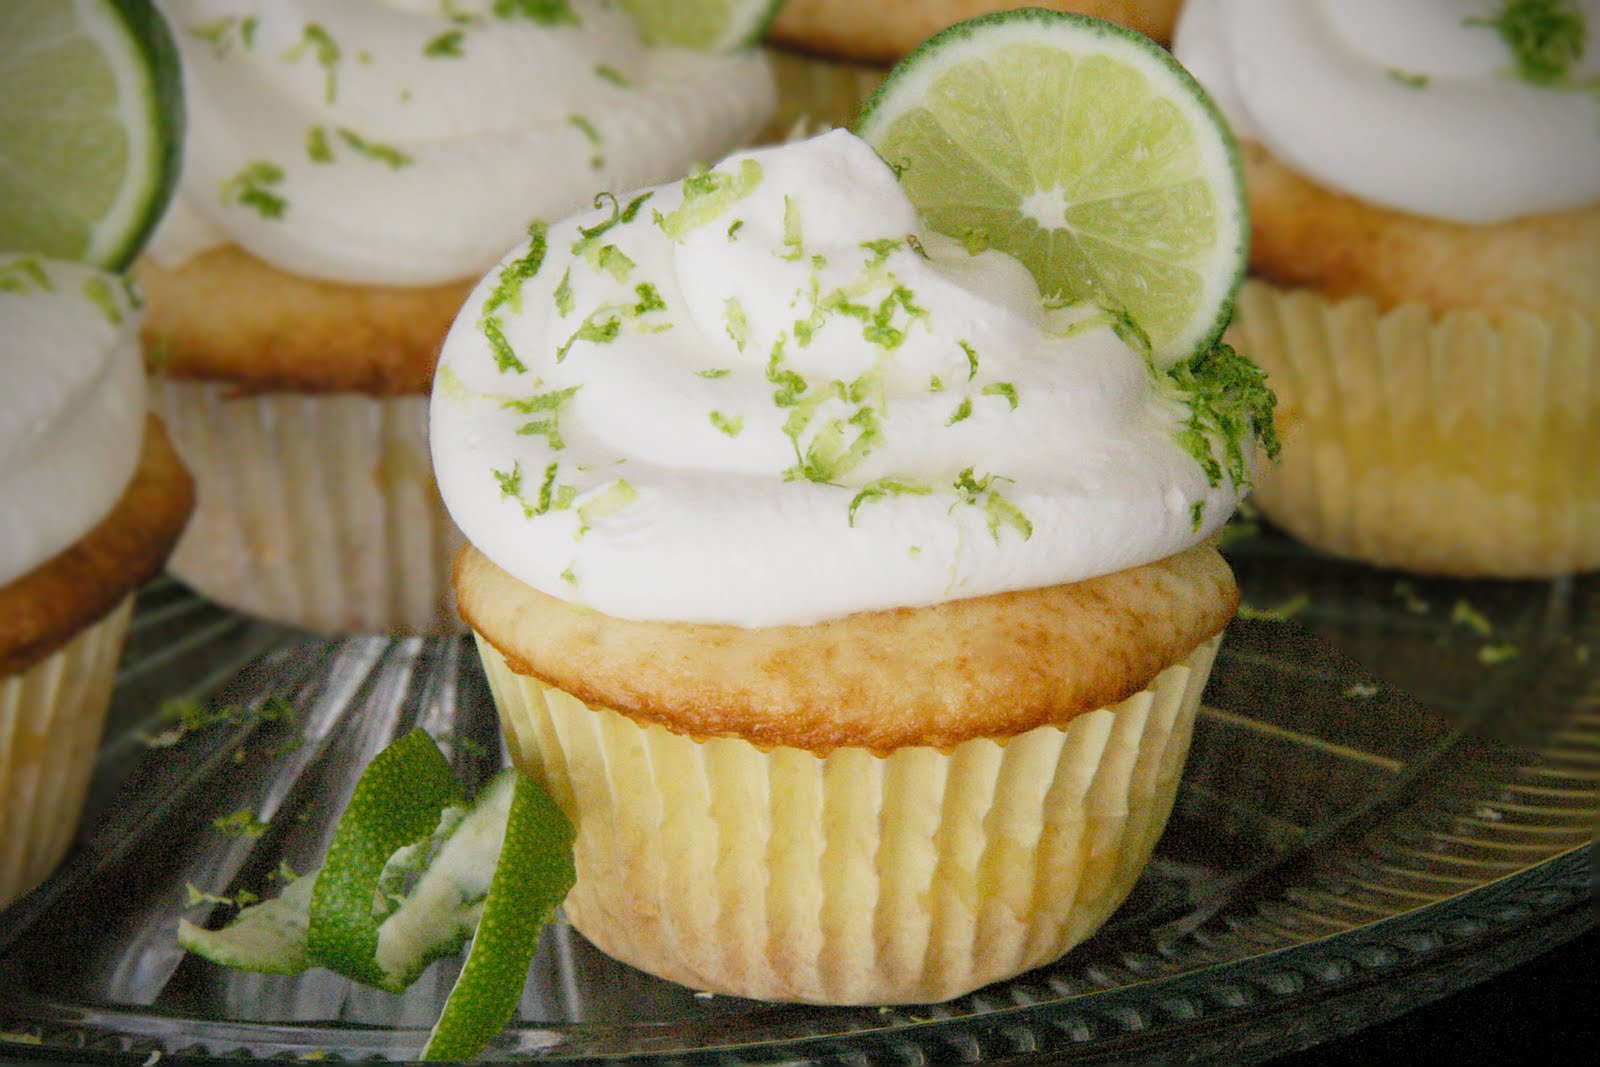
Key Lime Pie Cupcakes

I saw these cupcakes on a blog and I have to admit I love Key Lime. When I saw these it brought back that memory of how much I loved them. I have made these before and they are simple and divine. Enjoy!

Key Lime Pie Cupcakes
recipe adapted from 101 gourmet cupcakes in 10 minutes
Ingredients:
1 white cake mix
3 eggs
1 c. half and half
1 can sweetened condensed milk
6 Tbs. Key Lime Juice ( I used lime juice)
4 Tbs. Grated lime peel (about 2 limes for garnish)

Baking Instructions:
Mix together cake mix, eggs, half and half, and 3 T. key lime juice. Pour 1-2 T. of cake batter into each cupcake paper liner. In a separate bowl, mix sweetened condensed milk and rest of the lime juice. Evenly divide lime milk into batter-filled cups. Tops with remaining batter until 3/4 full.

Bake at 350 degrees for 15-18 minutes or until cake springs back when touched lightly. Remove from oven and cool completely on a wire rack.

Frost cupcakes with frosting and garnish with grated lime peel.

Yields: 18-24 cupcakes